GYM CHO MỌI NGƯỜI
115 Hoàng Diệu, Phường Phước Ninh, Quận Hải Châu, Thành phố Đà Nẵng
Xem map
24 giờ/ 7 ngày trong tuần
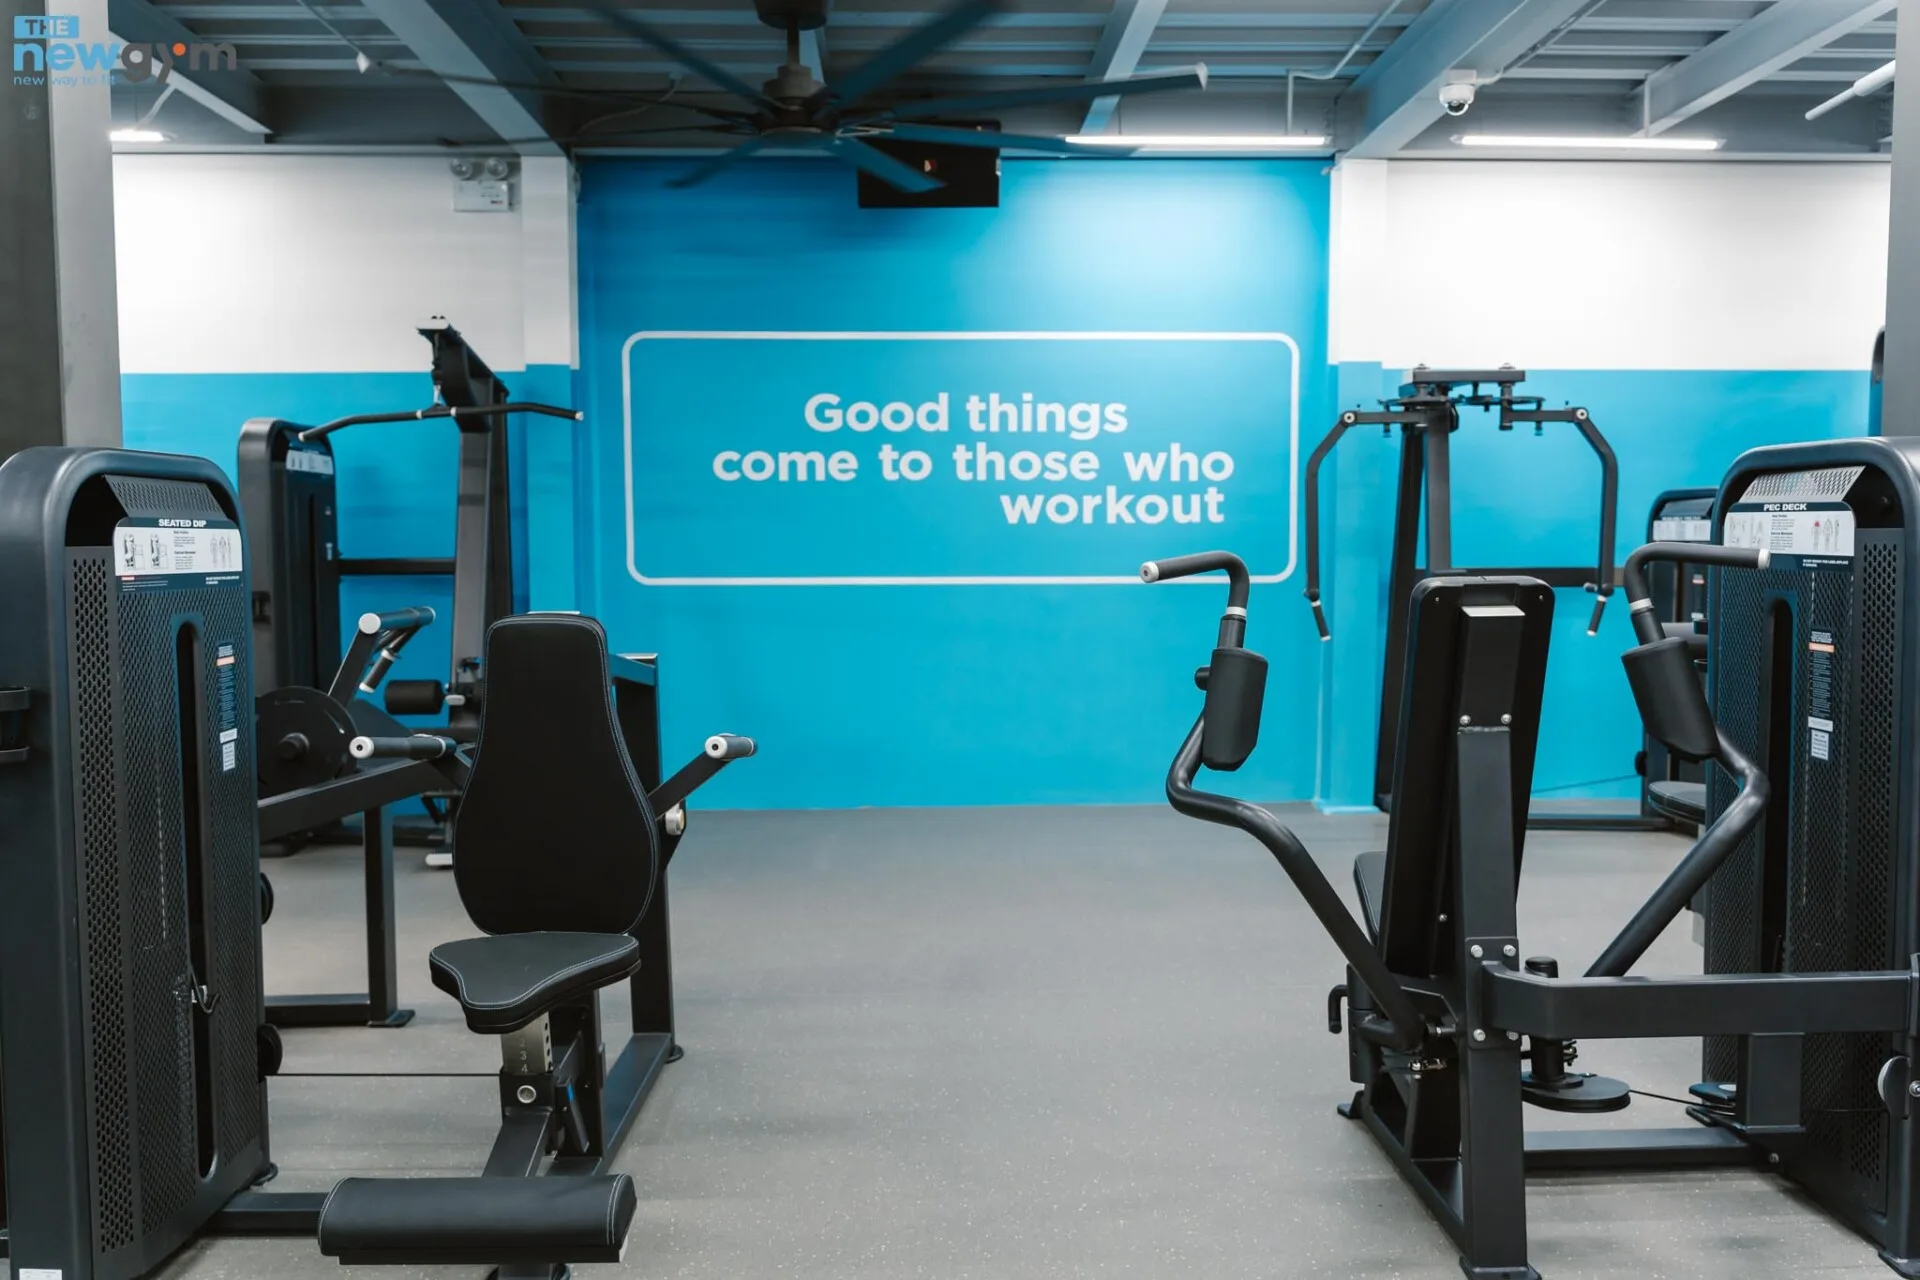
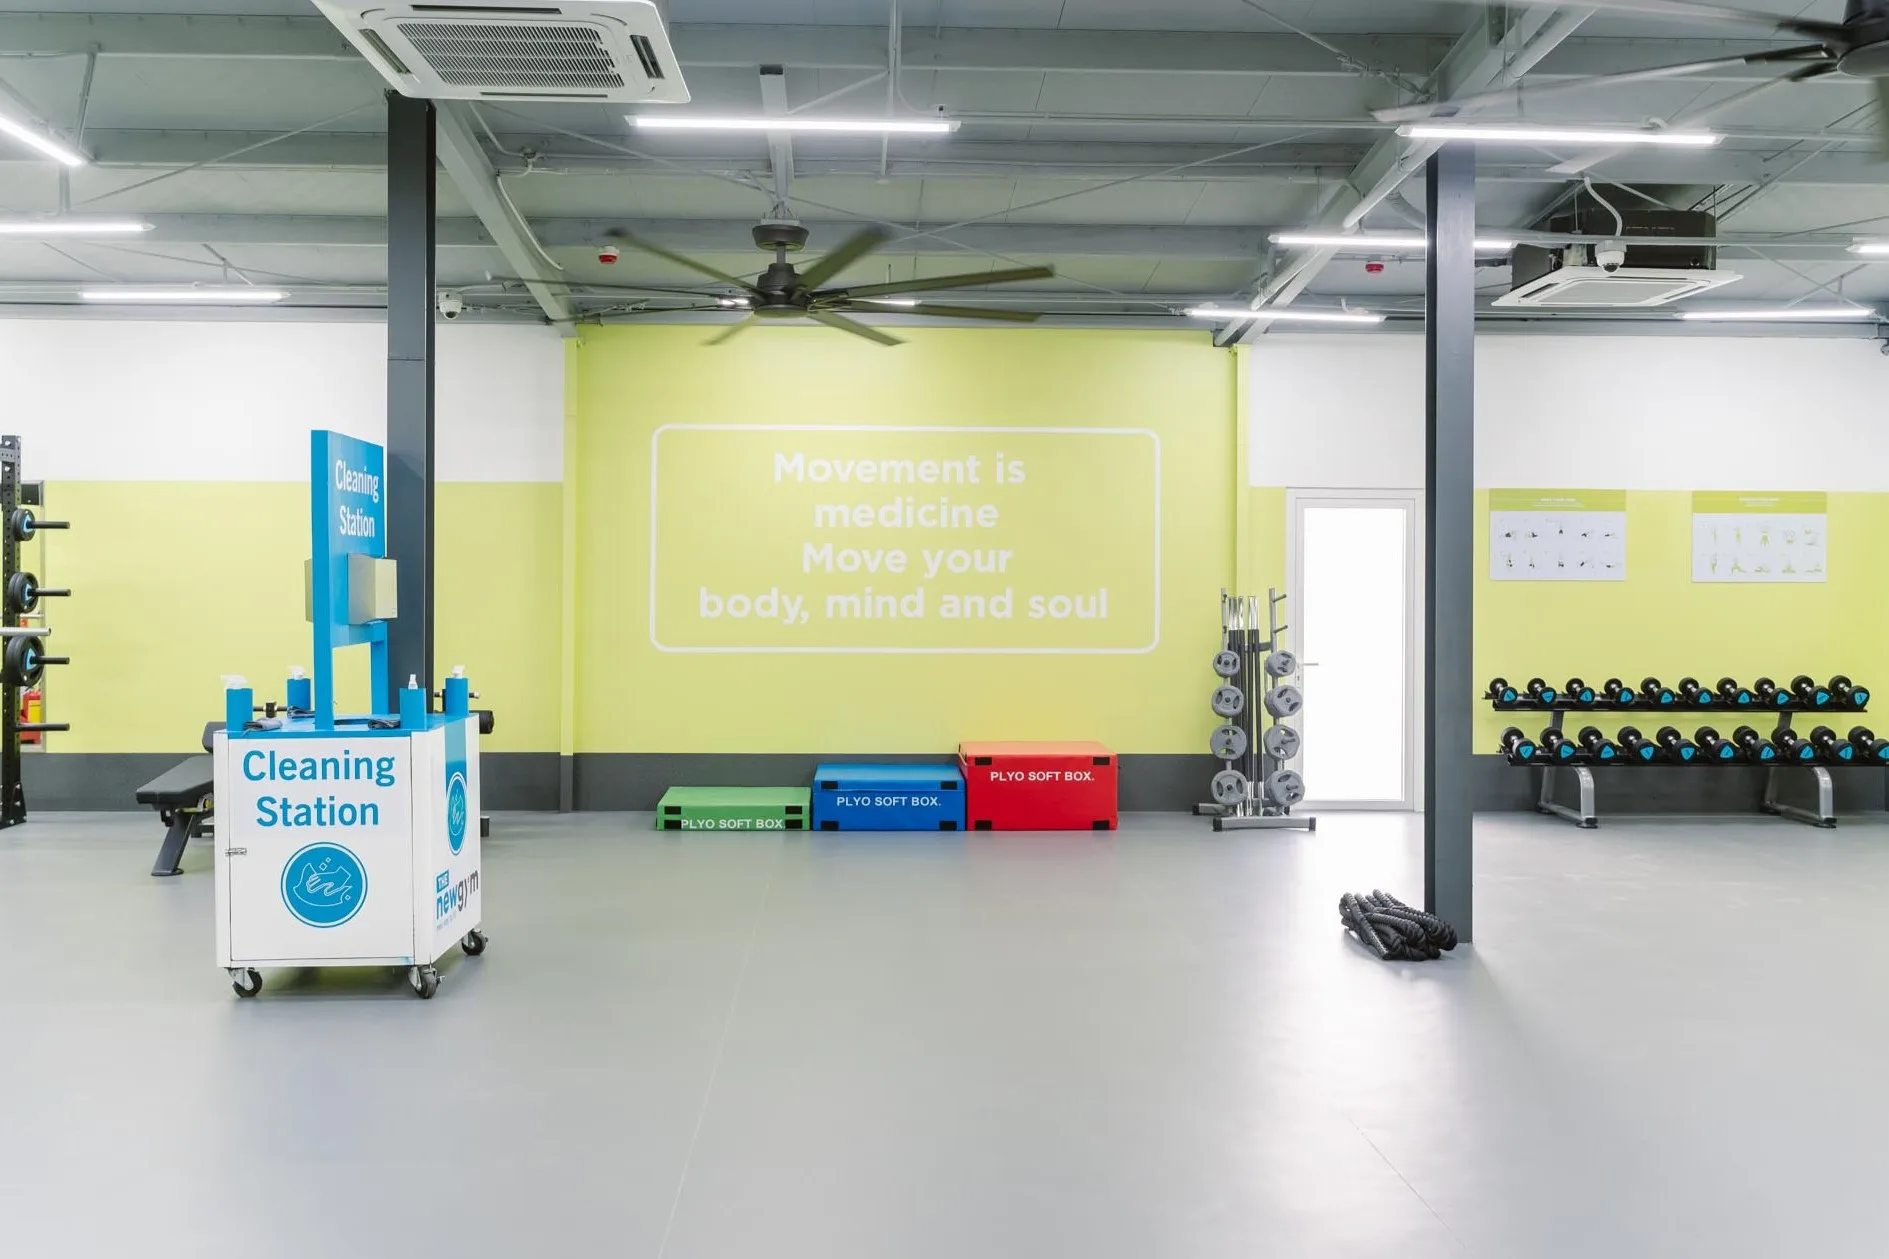
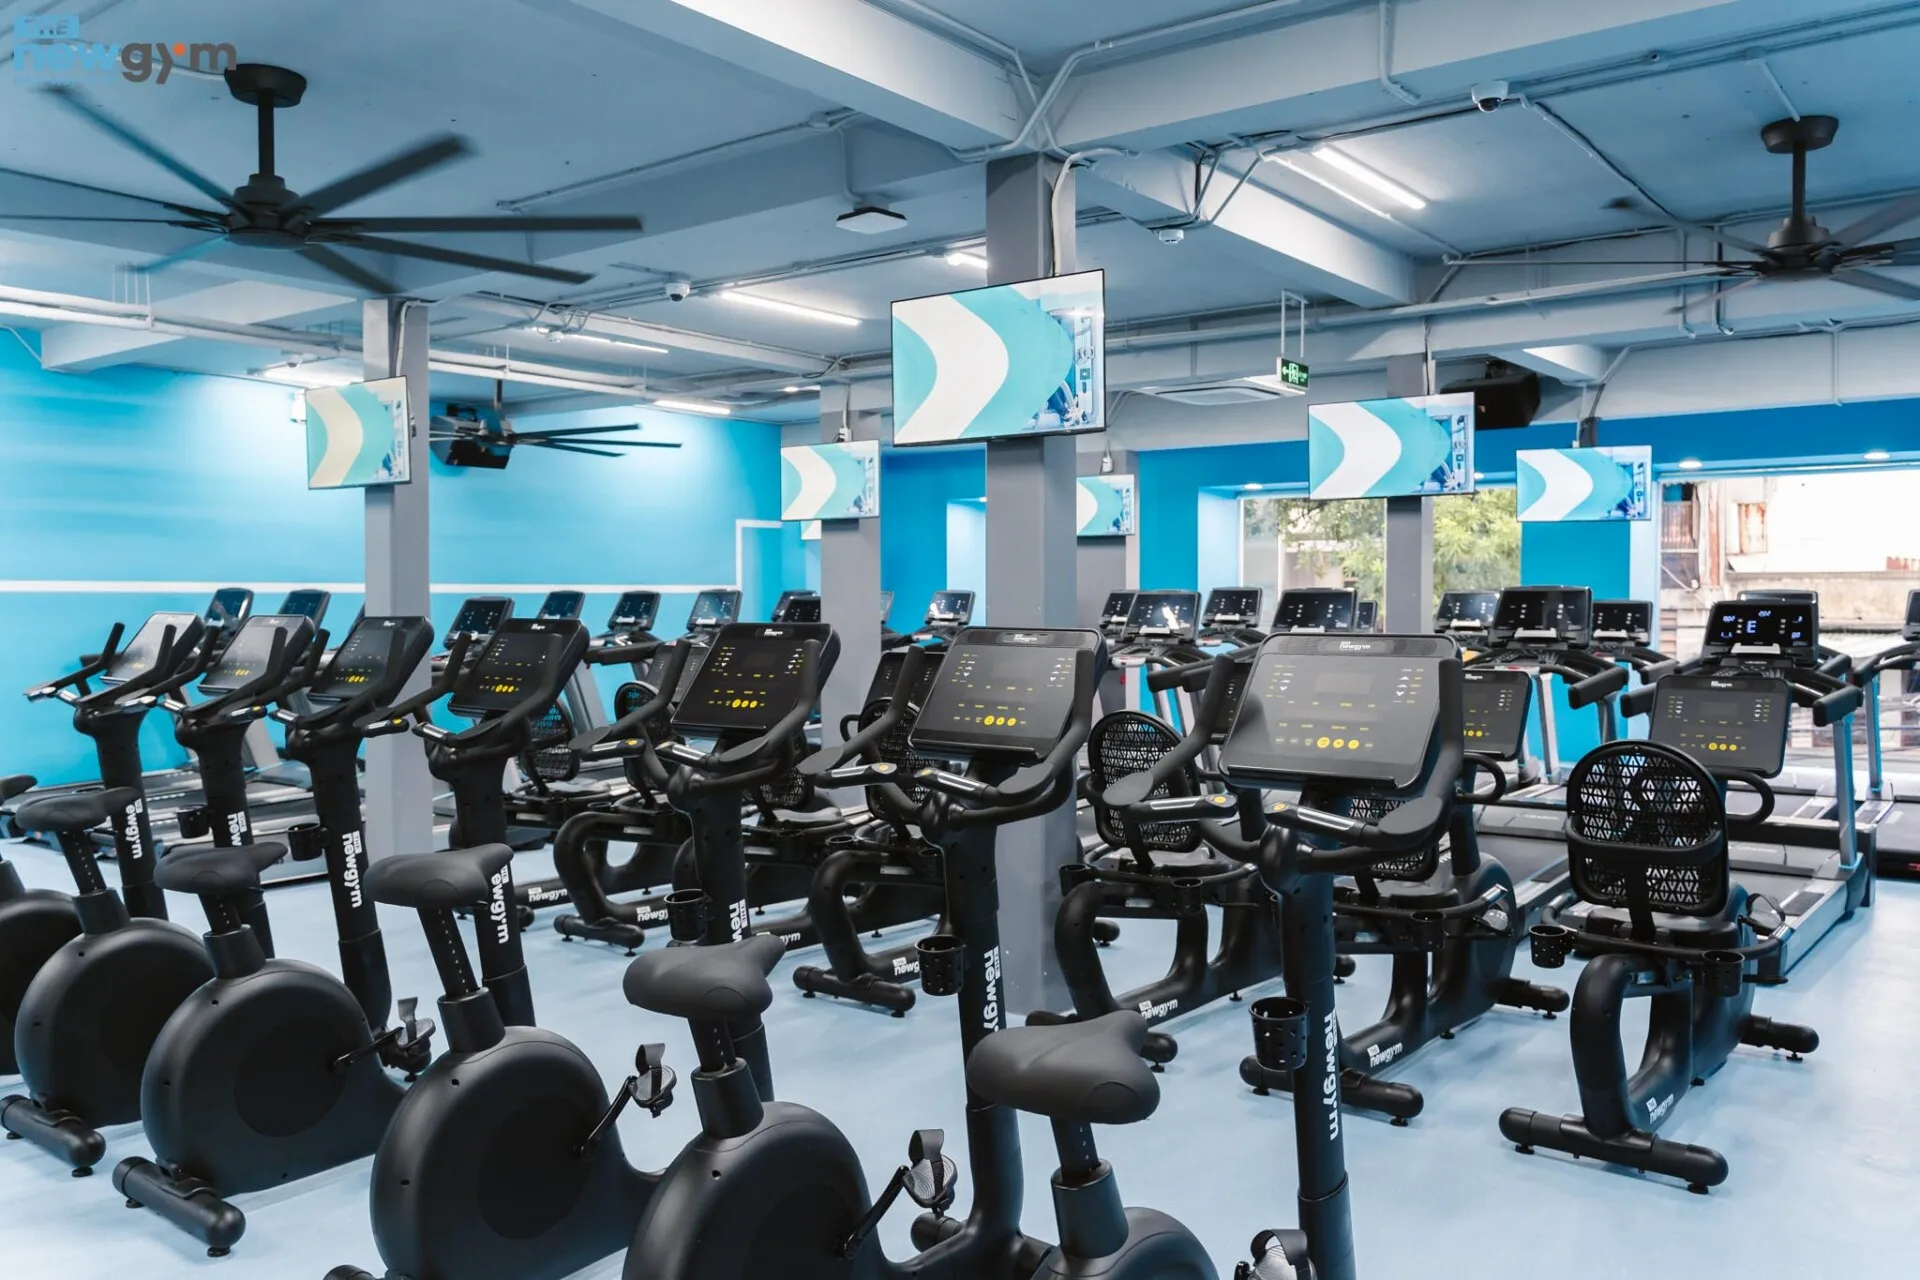
The New Gym Đà Nẵng có diện tích 2.000m2, gồm các khu vực tập luyện chính như Cardio, Strength, Free weights, Functional Training, Studio, Stretching, phù hợp với nhu cầu tập luyện cho mọi đối tượng.